How to Prevent Condensation in Shipping Containers: Practical Tips for Dry, Protected Storage
Worried about condensation in your shipping container? Discover simple, practical ways to stop moisture build-up and keep your tools, equipment, and stored items dry all year round.
If you’ve ever opened a shipping container on a cold morning and found the walls dripping with moisture, you’re definitely not alone. Condensation is one of the most common — and most frustrating — problems for anyone using a container for storage. Tools start rusting, cardboard boxes feel damp, paperwork curls at the edges… it’s all too familiar.
The good news? You don’t have to just accept it. With a few simple changes, you can turn a damp container into a dry, reliable storage space. No expensive equipment. No complicated modifications. Just a few smart adjustments that make a huge difference.
Let’s take a look at why condensation forms, and more importantly, how you can stop it.
Why Shipping Containers Develop Condensation
A shipping container’s biggest strength — its steel construction — is also part of the problem. Steel reacts quickly to temperature changes. When the weather outside turns cold, the interior walls cool down with it. Then, as soon as warmer, moist air enters the container (from opening the door, storing damp items, or even just from people walking inside), it hits the cold steel and turns straight into water droplets.
That water collects on the roof, runs down the walls, and drips onto your belongings. It’s often called “container rain,” and it’s especially noticeable in autumn, winter, and early mornings.
Improve Airflow Wherever You Can
One of the simplest ways to reduce condensation is to help the container breathe. Most containers come with vents, but they’re not always enough — especially if the vents are blocked or the container sits in a sheltered spot.
Even a little extra airflow can make a big difference. Opening the doors for a short time on dry days, clearing debris from the vents, or adding a couple of extra vents high up can help moisture escape rather than build up inside.
Use Moisture Traps as a Safety Net
If you’re storing anything sensitive to damp — tools, electricals, paperwork, or fabrics — giving the container a little extra help is a smart idea. Moisture traps and desiccant bags quietly absorb excess humidity, keeping the air much drier.
They’re inexpensive, easy to replace, and a great backup solution during the colder months or when the container is opened and closed frequently.
Be Careful What You Put Inside
It sounds obvious, but it’s surprising how many condensation problems start simply because something wet was put inside the container. Damp workwear, wet tools, fresh timber, or machinery that’s been out in the rain can all release moisture into the air.
Whenever possible, give items a quick wipe-down or let them dry before storing them away. If that’s not possible, keep them near the doors or in a well-ventilated part of the container so the moisture doesn’t get trapped.
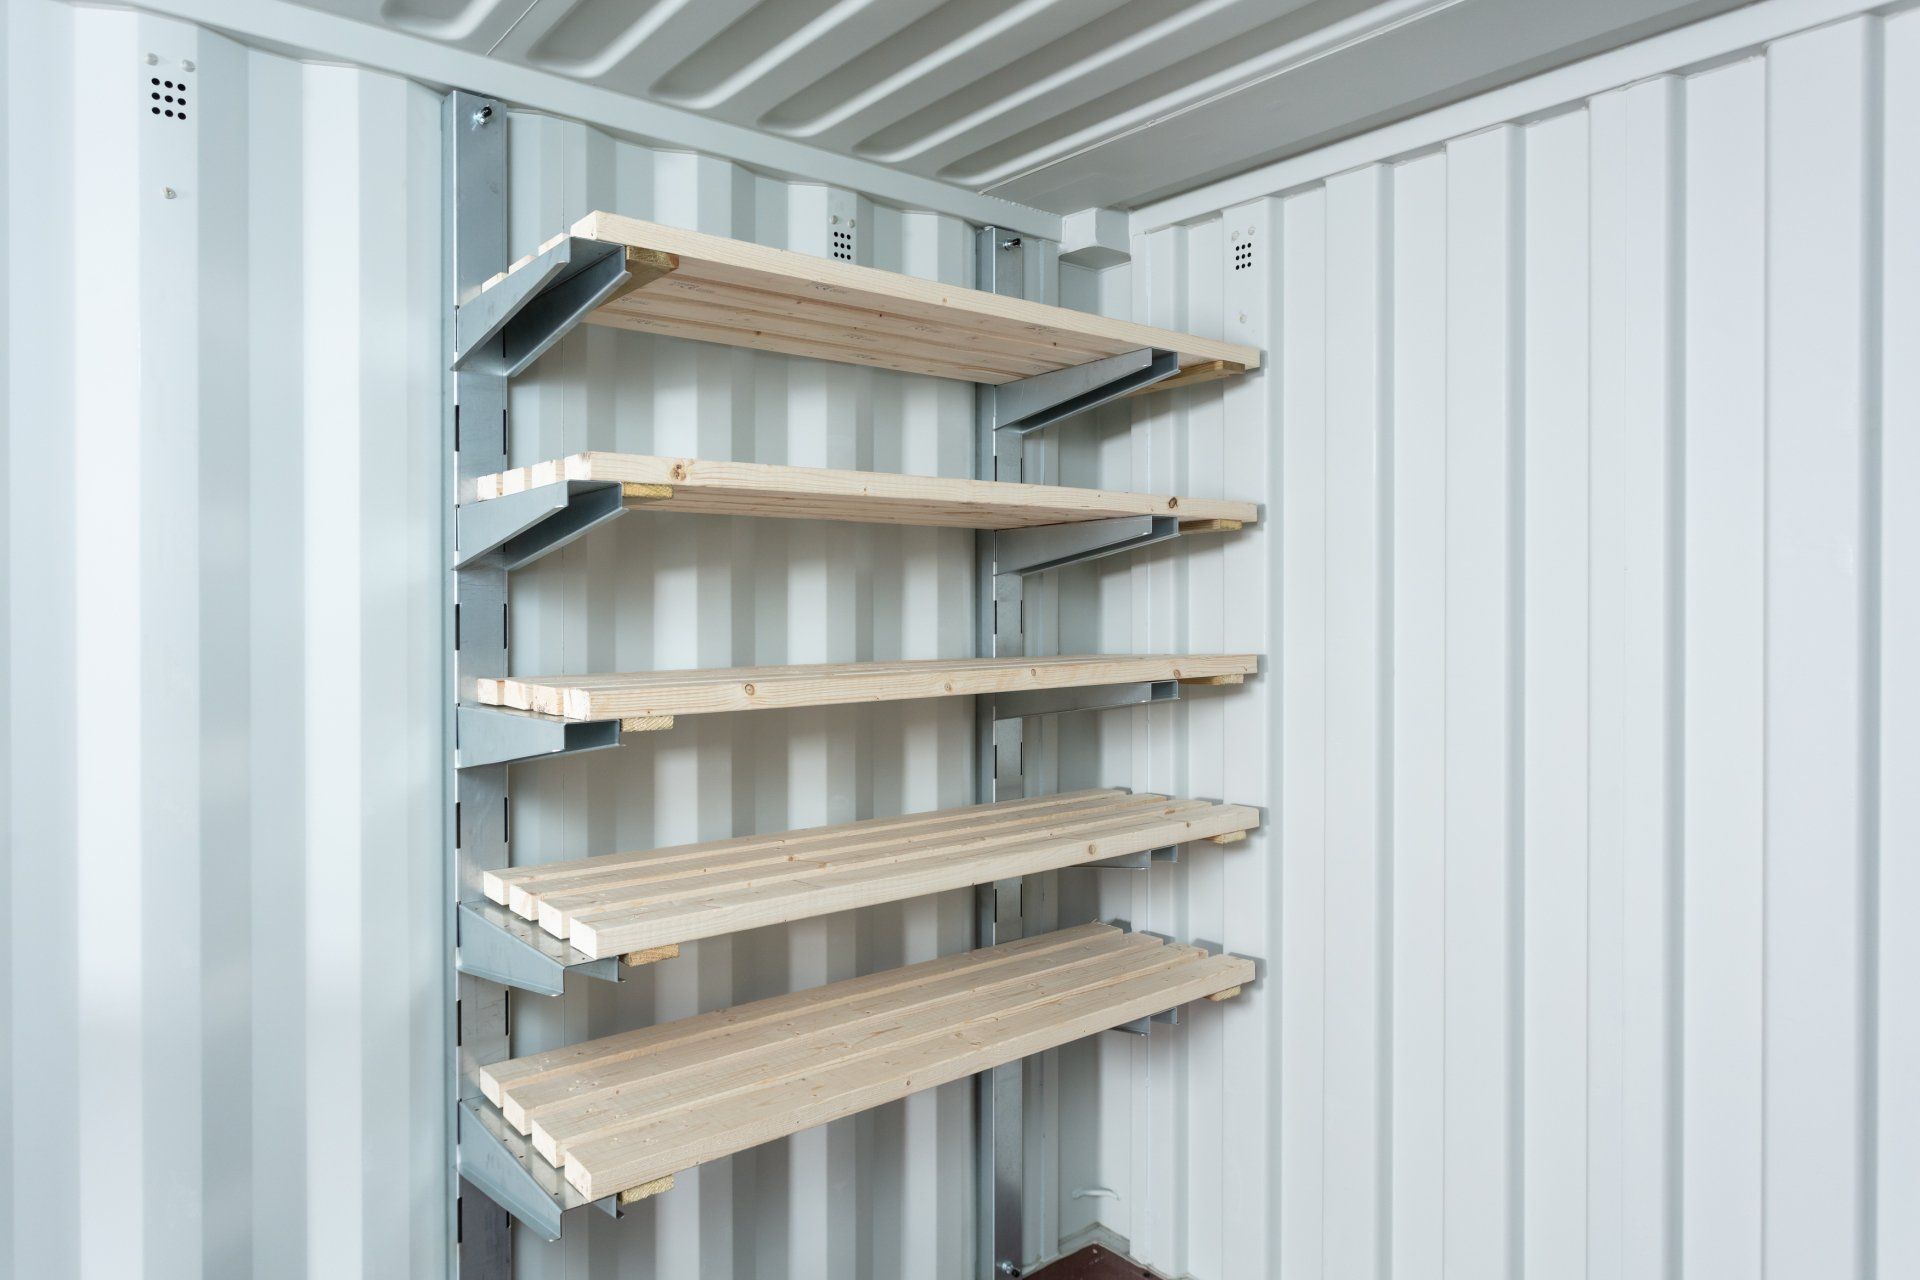
Get Items Off the Floor and Improve Air Circulation
One of the best things you can do to fight condensation is to create space for air to move around your stored items — and that’s where racking really shines.
Shelving lifts tools, boxes, and equipment off the cold steel floor and allows air to circulate freely. This reduces the likelihood of moisture settling on items and stops damp from being trapped underneath. It also helps you avoid stacking everything in one humid, overcrowded pile.
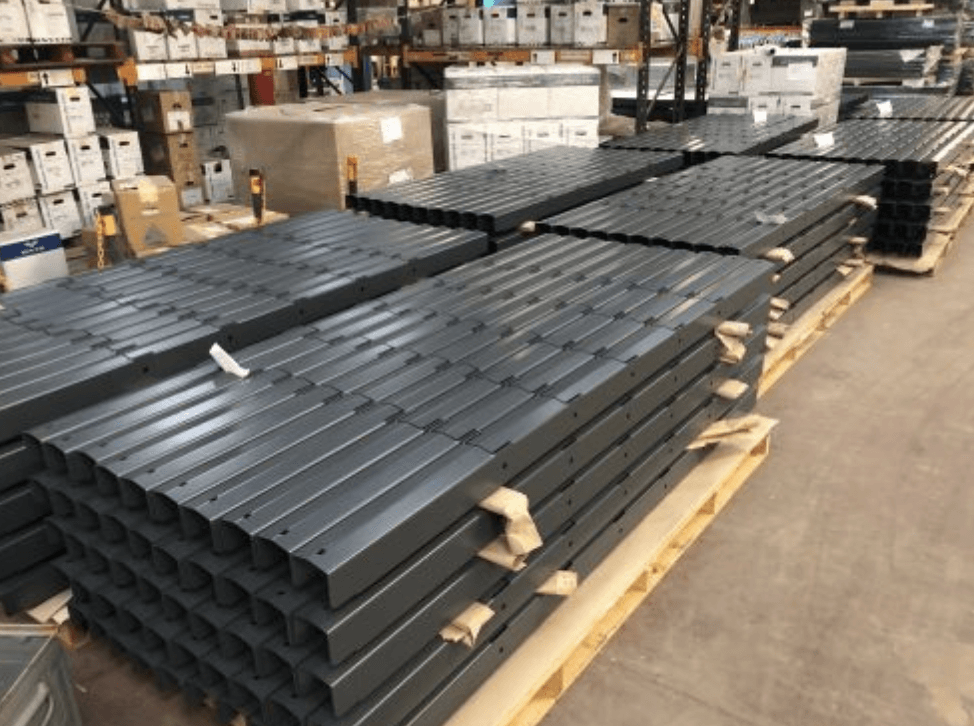
Because Container Rack’s racking is galvanised steel, it won’t absorb moisture and stays solid even with temperature changes — making it ideal for long-term container storage.
Insulate the Ceiling for Long-Term Protection
If condensation is a constant issue, insulating the roof of the container is one of the most effective long-term fixes. The ceiling is where most moisture gathers because warm air rises. Adding insulation helps create a buffer, stopping warm air from turning into droplets when it hits cold steel.
You don’t have to insulate the entire container to see a difference — even a simple anti-condensation lining or lightweight insulation panel can dramatically reduce moisture build-up.
Pay Attention to the Ground Conditions
Sometimes the problem isn’t inside the container at all — it’s under it. Containers placed directly on soil, grass, or uneven ground tend to hold moisture underneath, which then creeps inside.
Raising the container slightly on blocks, sleepers, or concrete pads helps air flow underneath and reduces the overall humidity inside. It also improves drainage during rainy periods, which plays a surprisingly big role in keeping everything dry.
Condensation might be common in shipping containers, but it doesn’t have to be a permanent headache. A bit of ventilation, a thoughtful layout, some moisture control, and the right racking system can completely transform your container into a dry, dependable storage space.
At Container Rack, we help you stay organised and protected with strong, galvanised racking designed specifically for shipping containers. Pair that with the prevention tips above, and you’ll have a container that stays dry no matter what the weather throws at it.
Want to take the next step?
Use our
Build-Your-Own Configurator to design a storage setup that keeps your container tidy, organised, and moisture-free.