
Installation guide
Installation of your new container racking is simple and straightforward.
So easy, it only takes 7 steps!
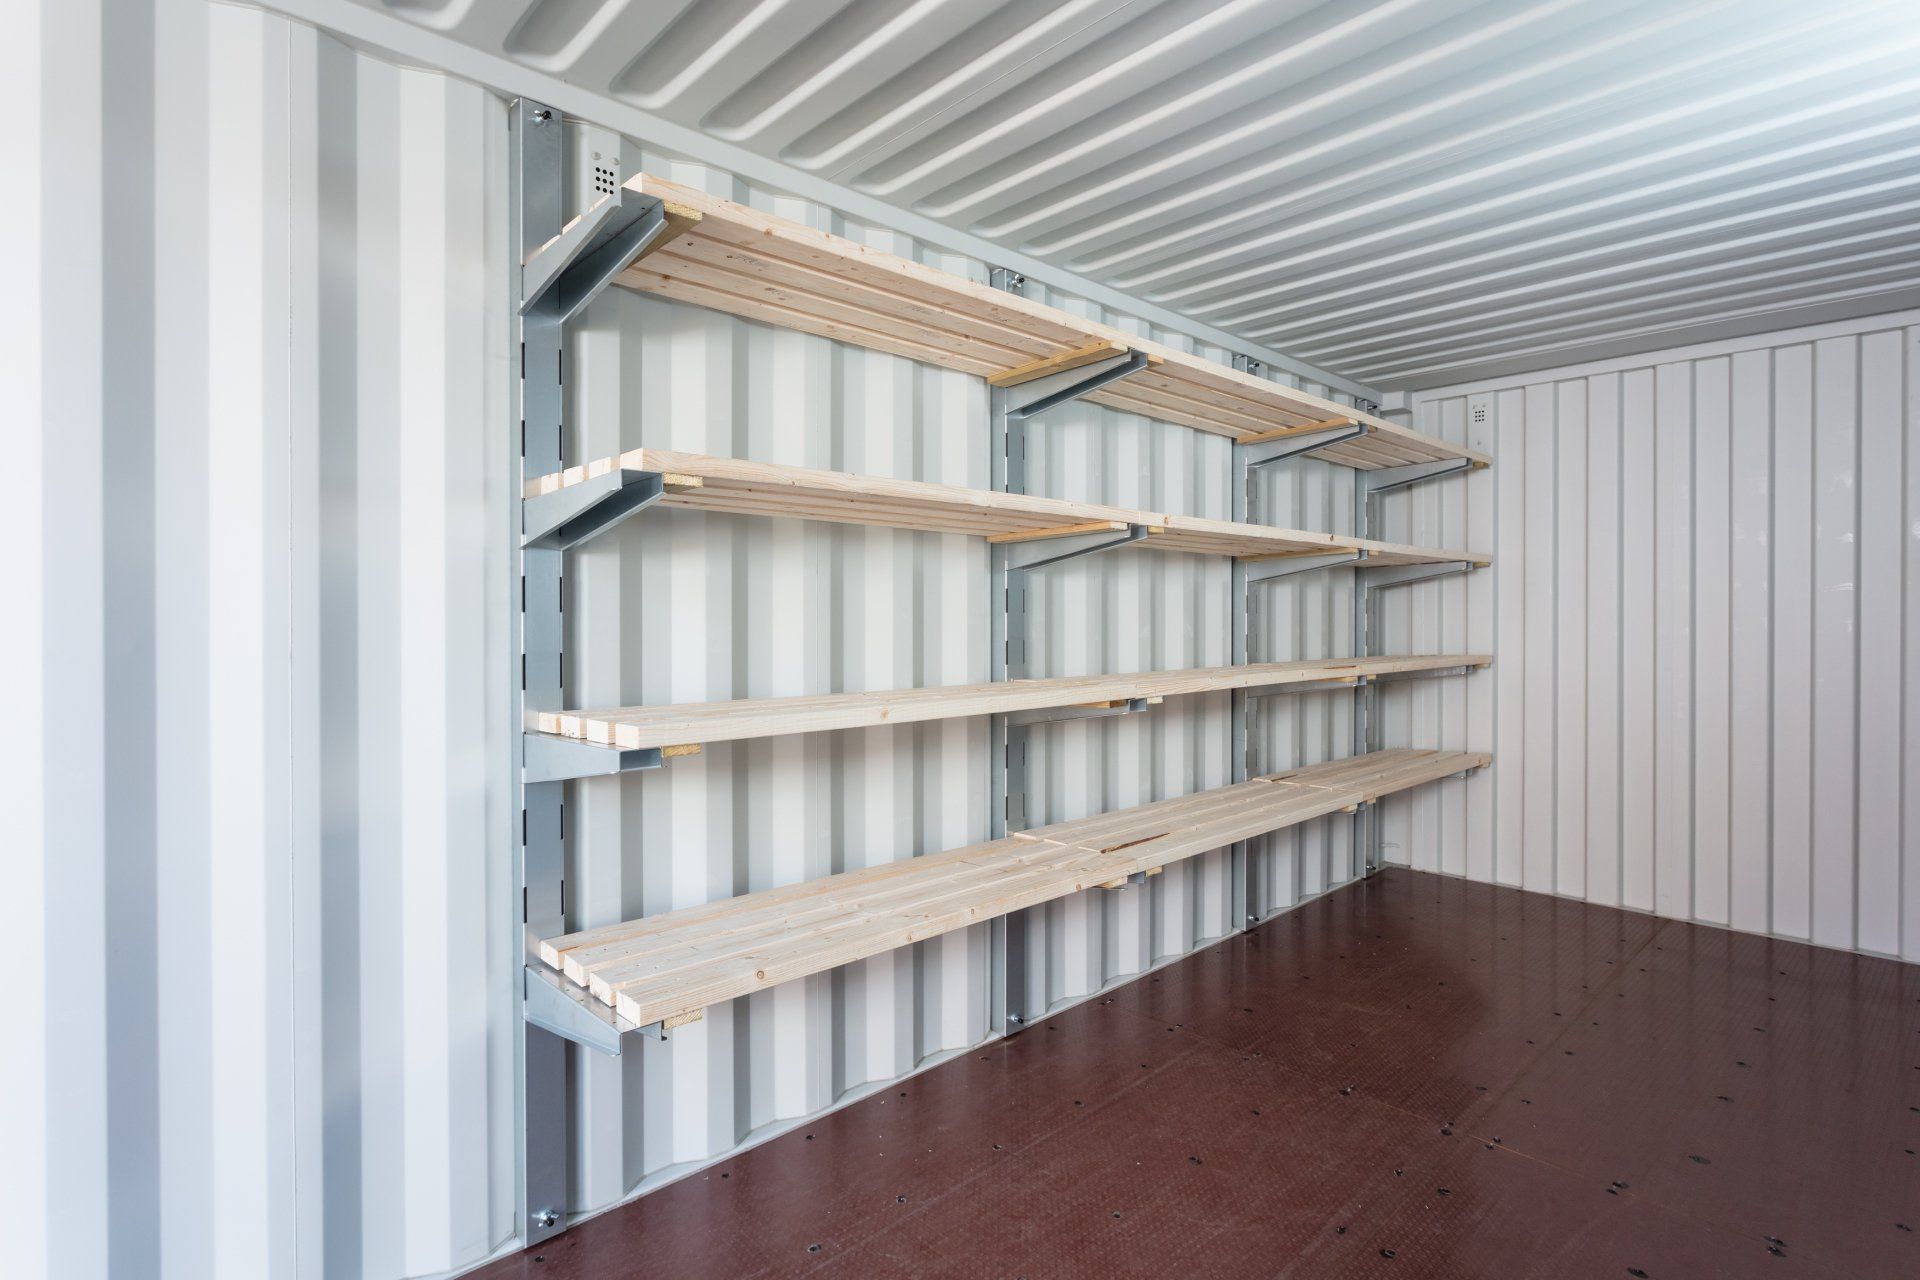
How To Install Container Racking
Use our online guide to understand how to install your custom container shelving correctly
7 Steps To Organised Storage
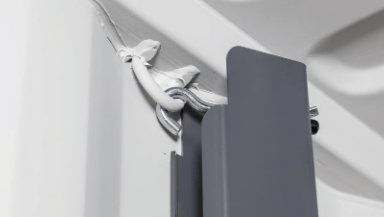
Unpack
When your shelving arrives, unpack the kit carefully. Check all parts are present and no damage has occurred during delivery.
To prevent risk of injury from splinters, wear gloves when handling both timber and steel parts.
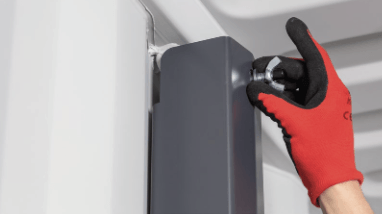
Extend
When your shelving arrives, unpack the kit carefully. Check all parts are present and no damage has occurred during delivery.
To prevent risk of injury from splinters, wear gloves when handling both timber and steel parts.
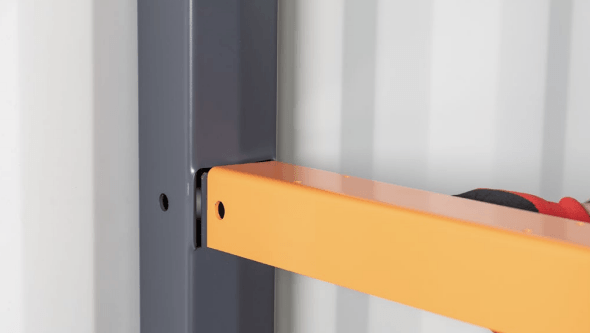
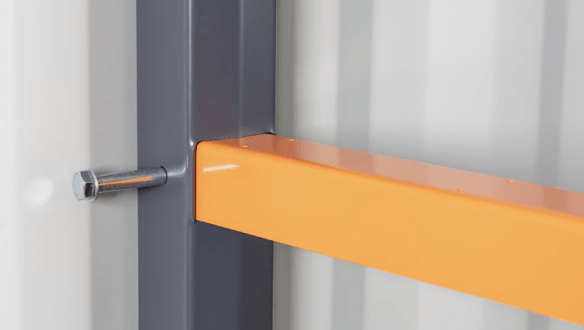
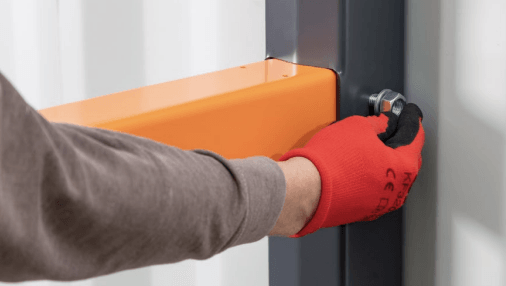
Secure
Secure the bracket with bolts provided then add a washer and nut to the opposite side.
Max Loads
Do not exceed The Safe Working Load (SWL) for each arm which is 300kg per arm.
Always ensure all loads are evenly distributed along each shelf level.
Important Safety Advice
- Use gloves when handling parts because steel and timber components may have burs or splinters.
- Do not attempt to move the container whilst goods are still on the shelves.
- Before lifting and transporting your container with empty shelves, ensure all locking pins and screws are firmly in place and shelves are completely empty.
- As the installer, it is your responsibility to ensure the product is installed safely and load capacities remain within maximum weights listed. Remember the maximum load for each shelf arm is 300kg per arm and all loads must be distributed evenly along each shelf.